
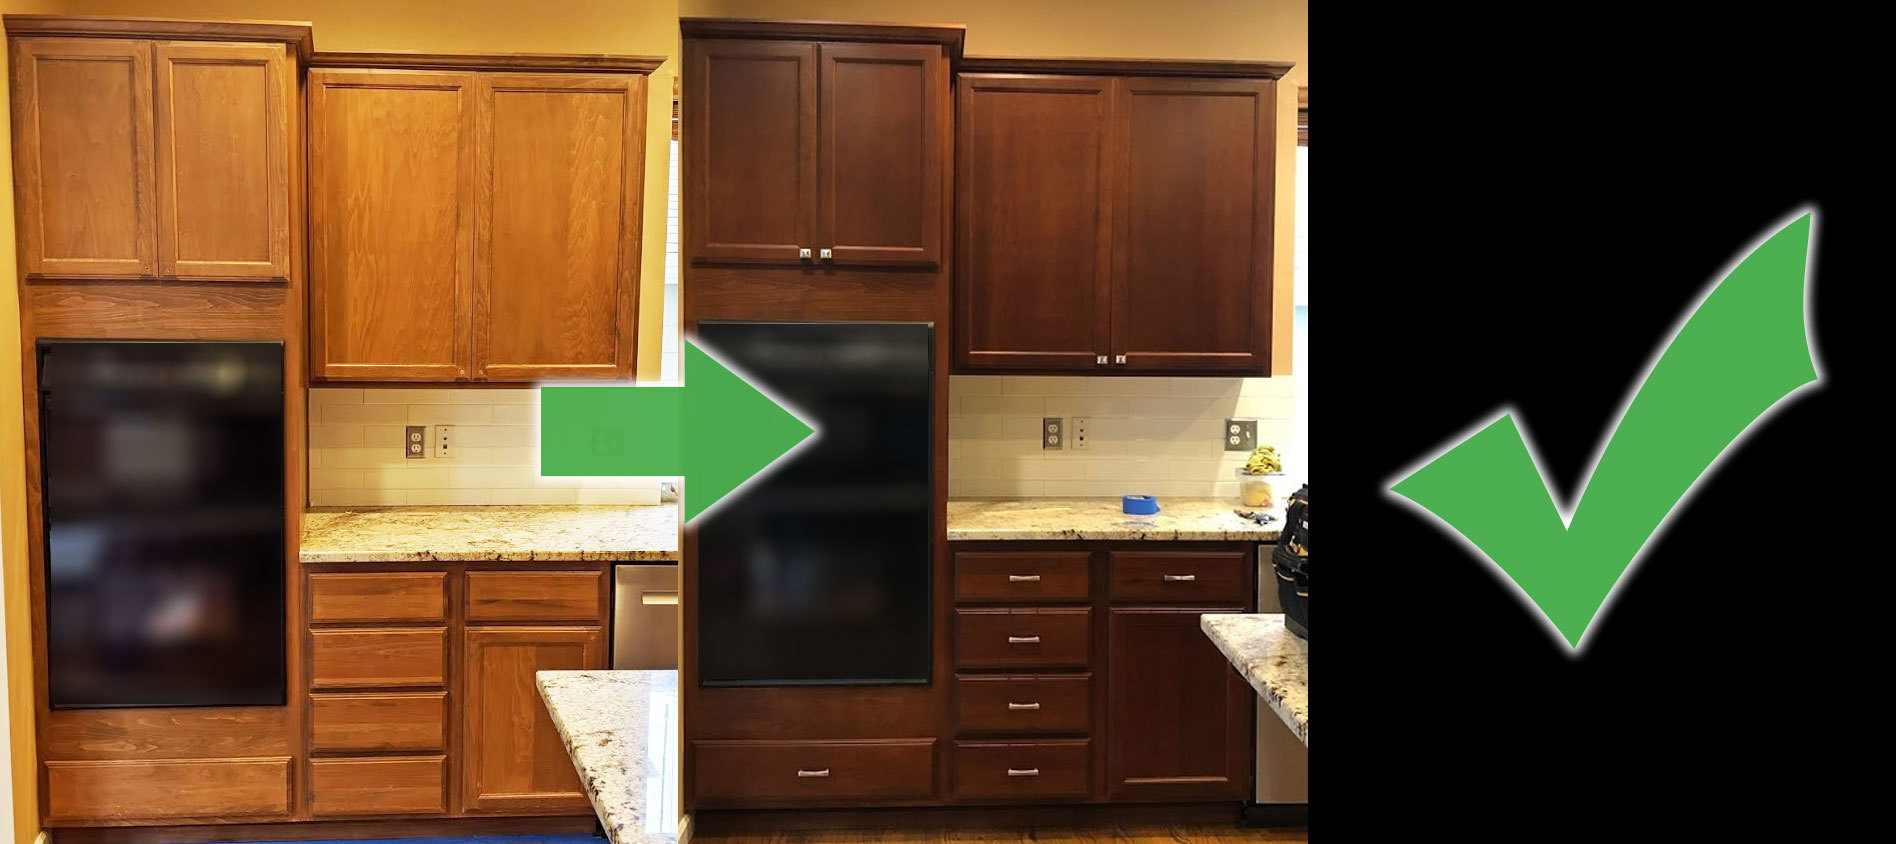
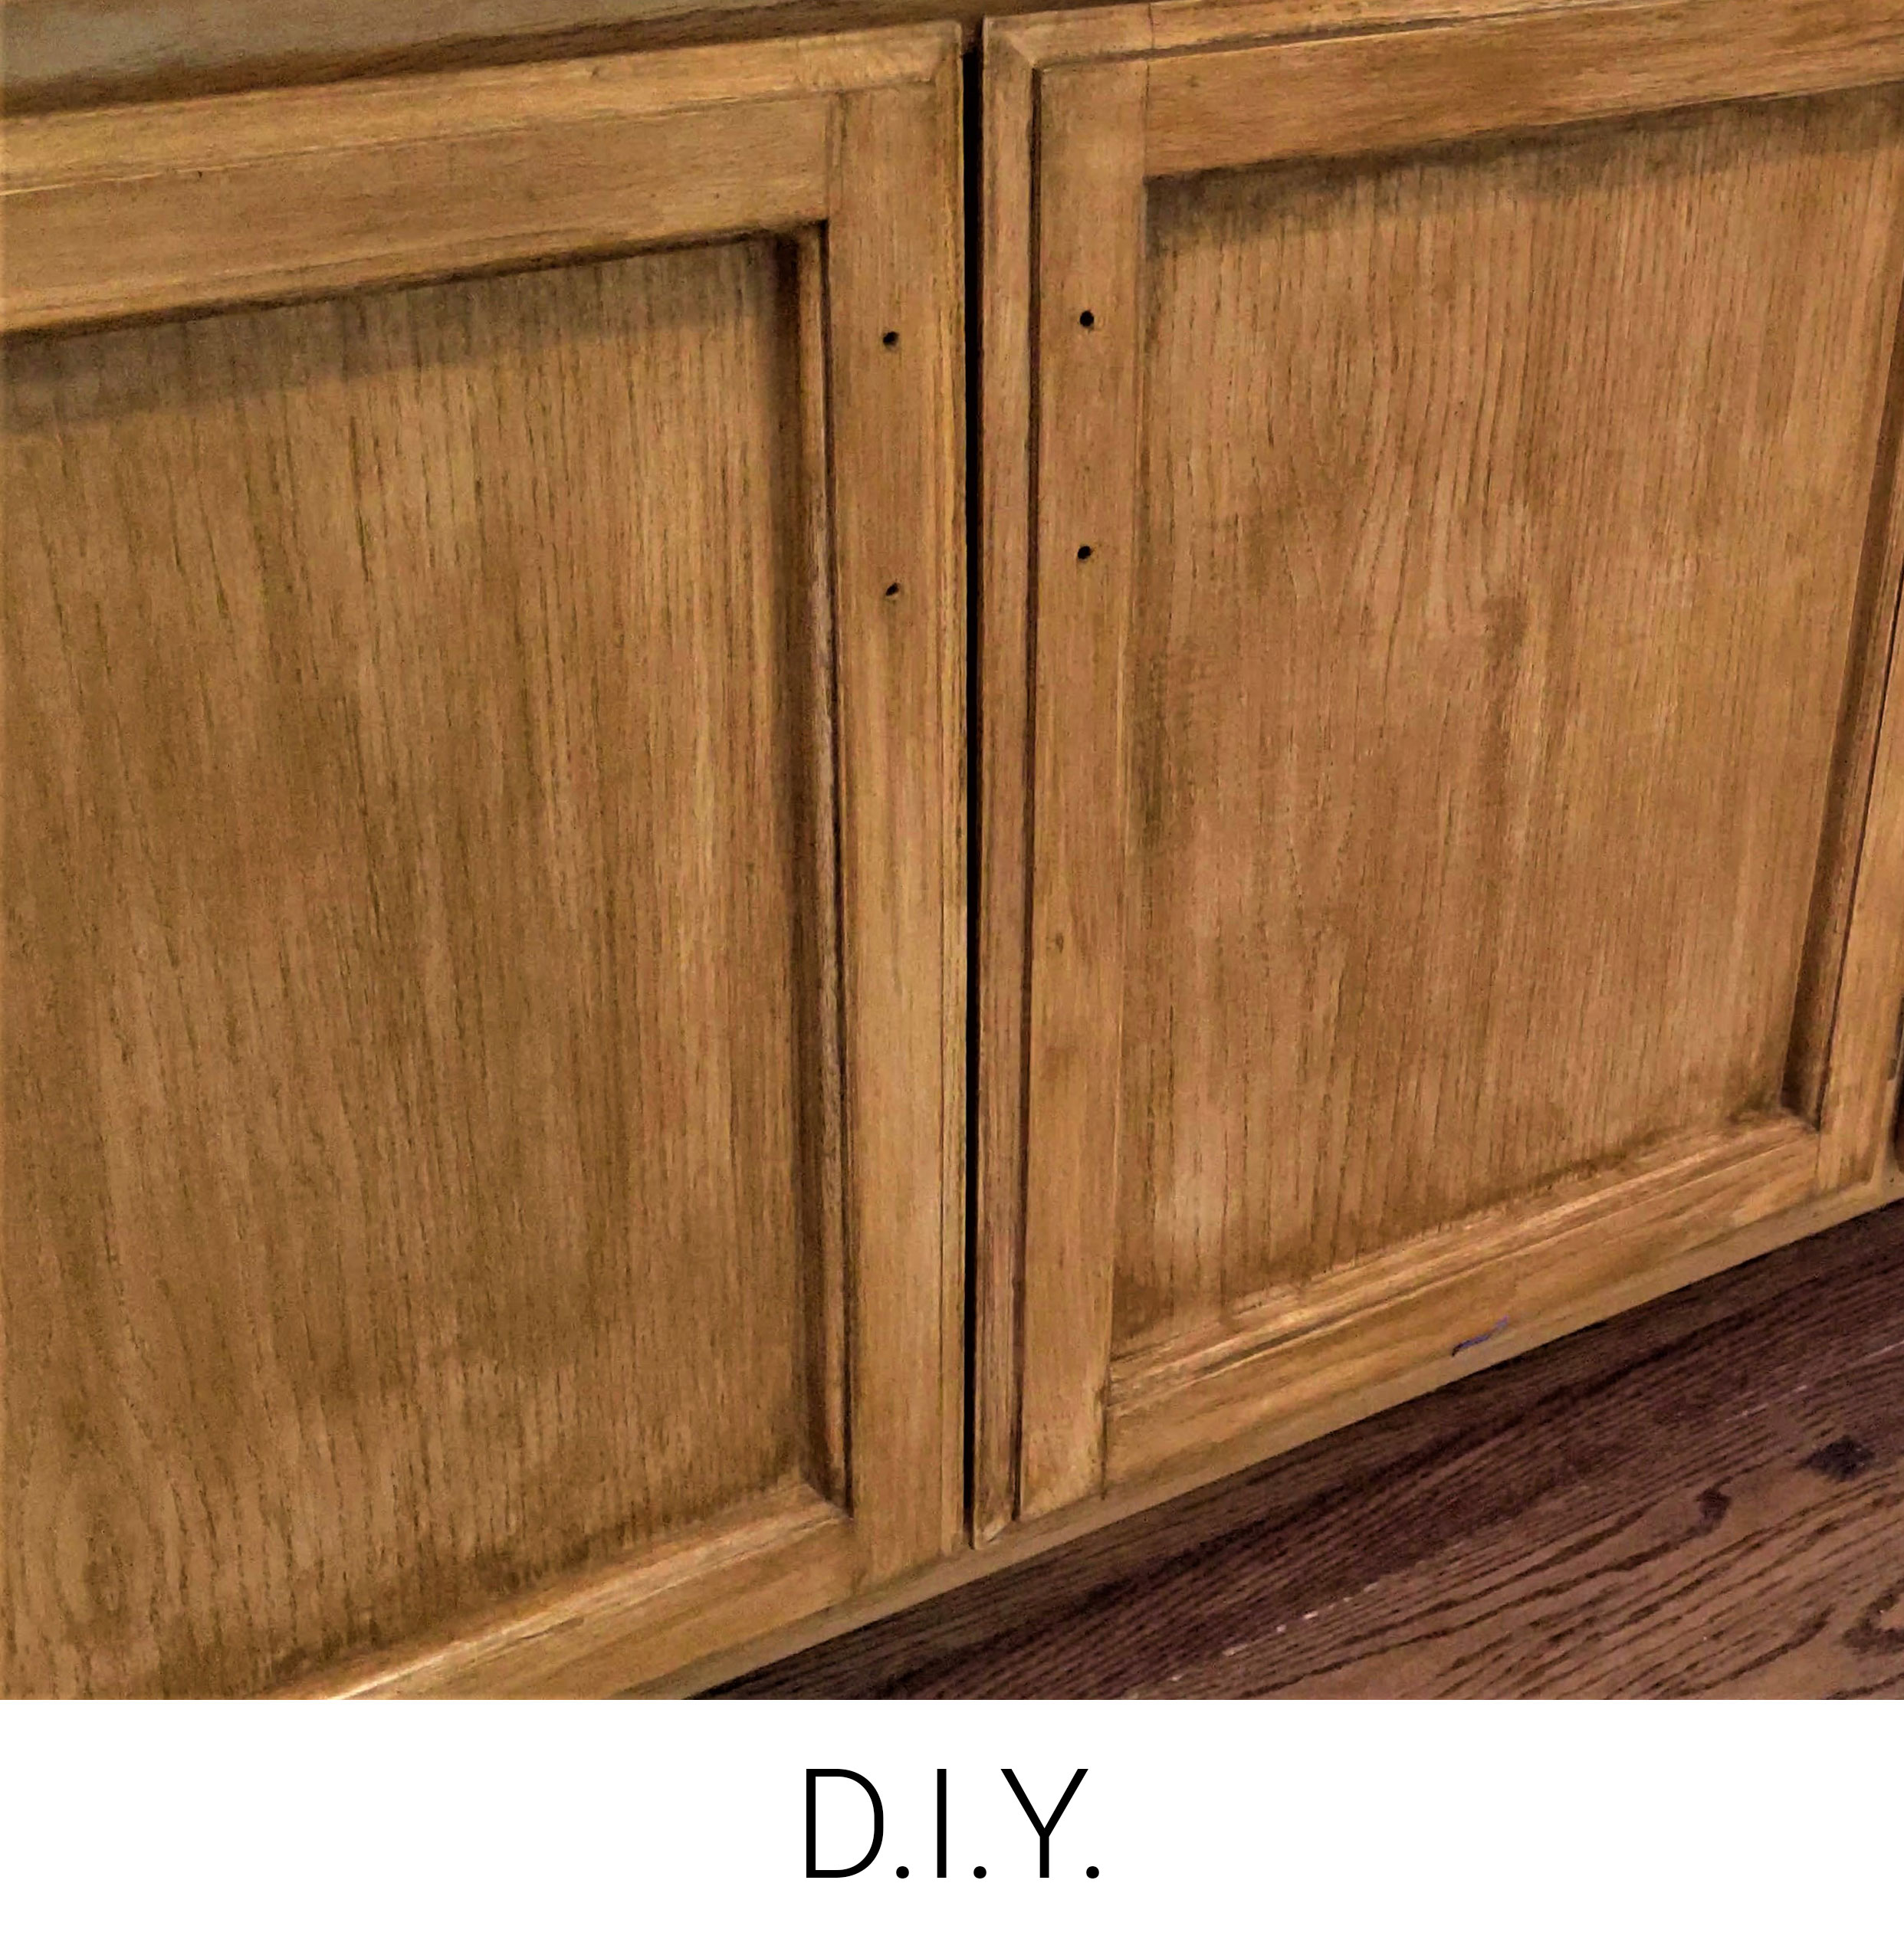
Keep the wood grain, darken the color
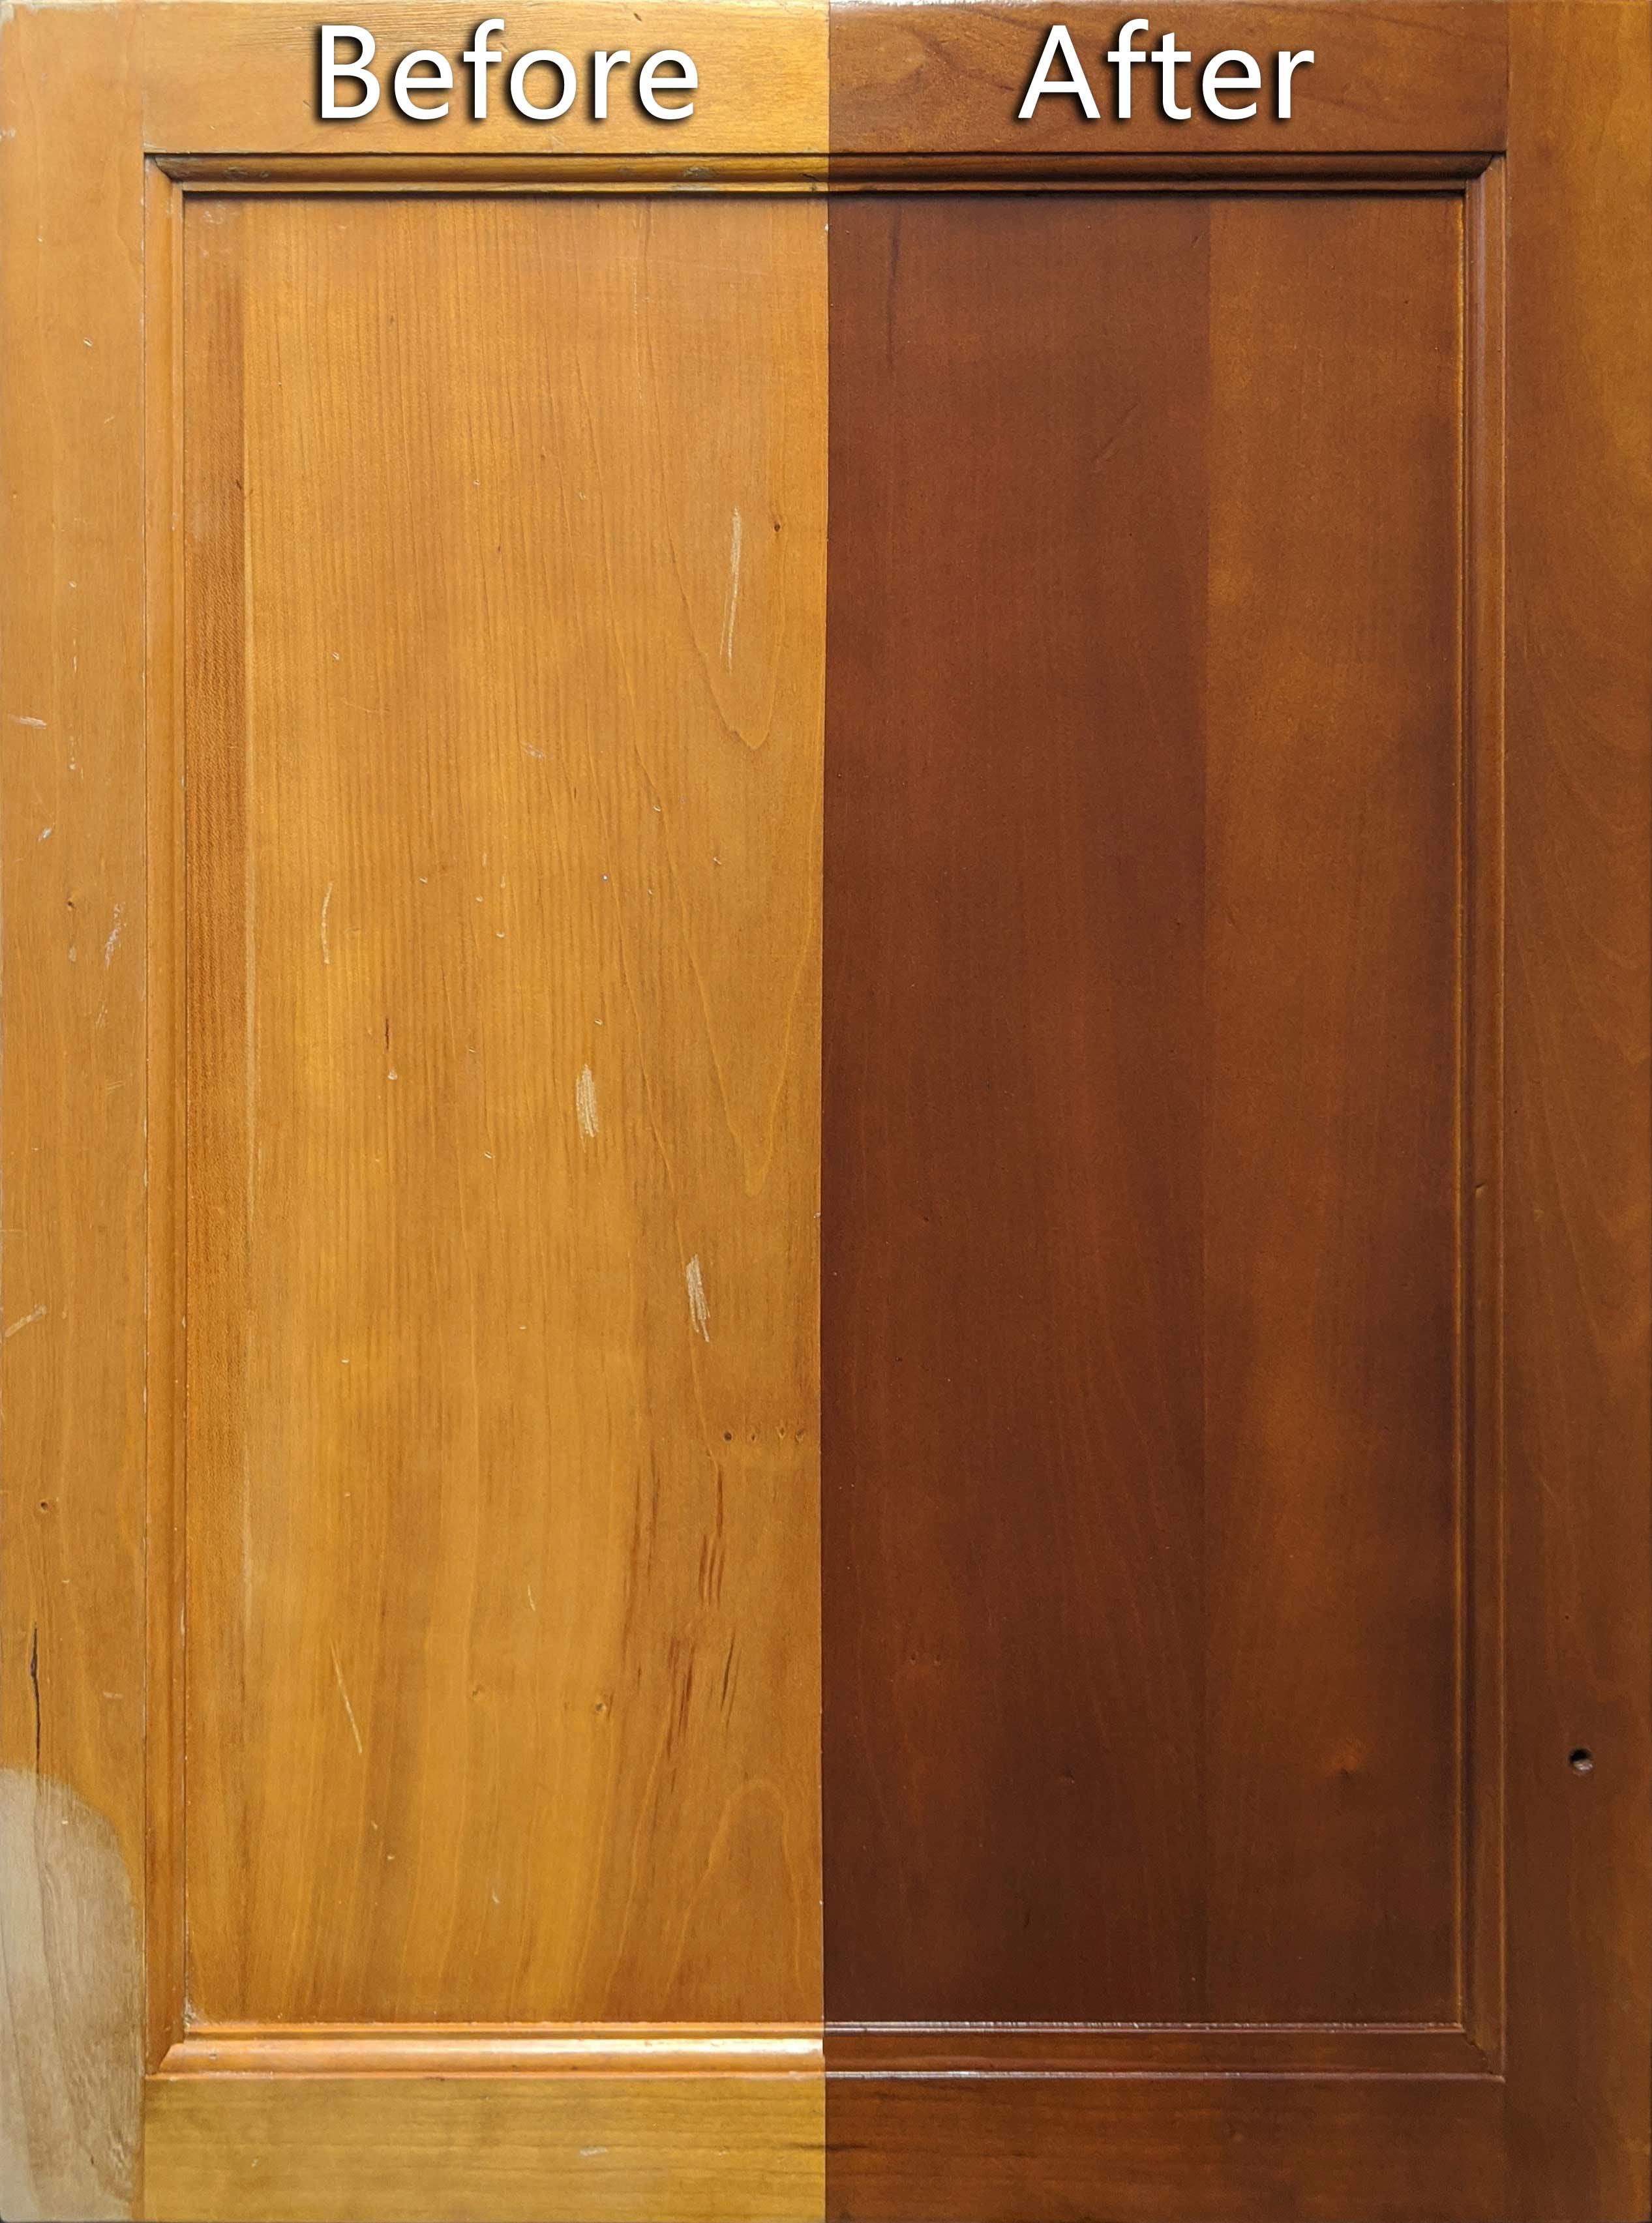
Our restaining process keeps the original wood grain and darkens the stain color for a brand new look in your kitchen.
Color Options
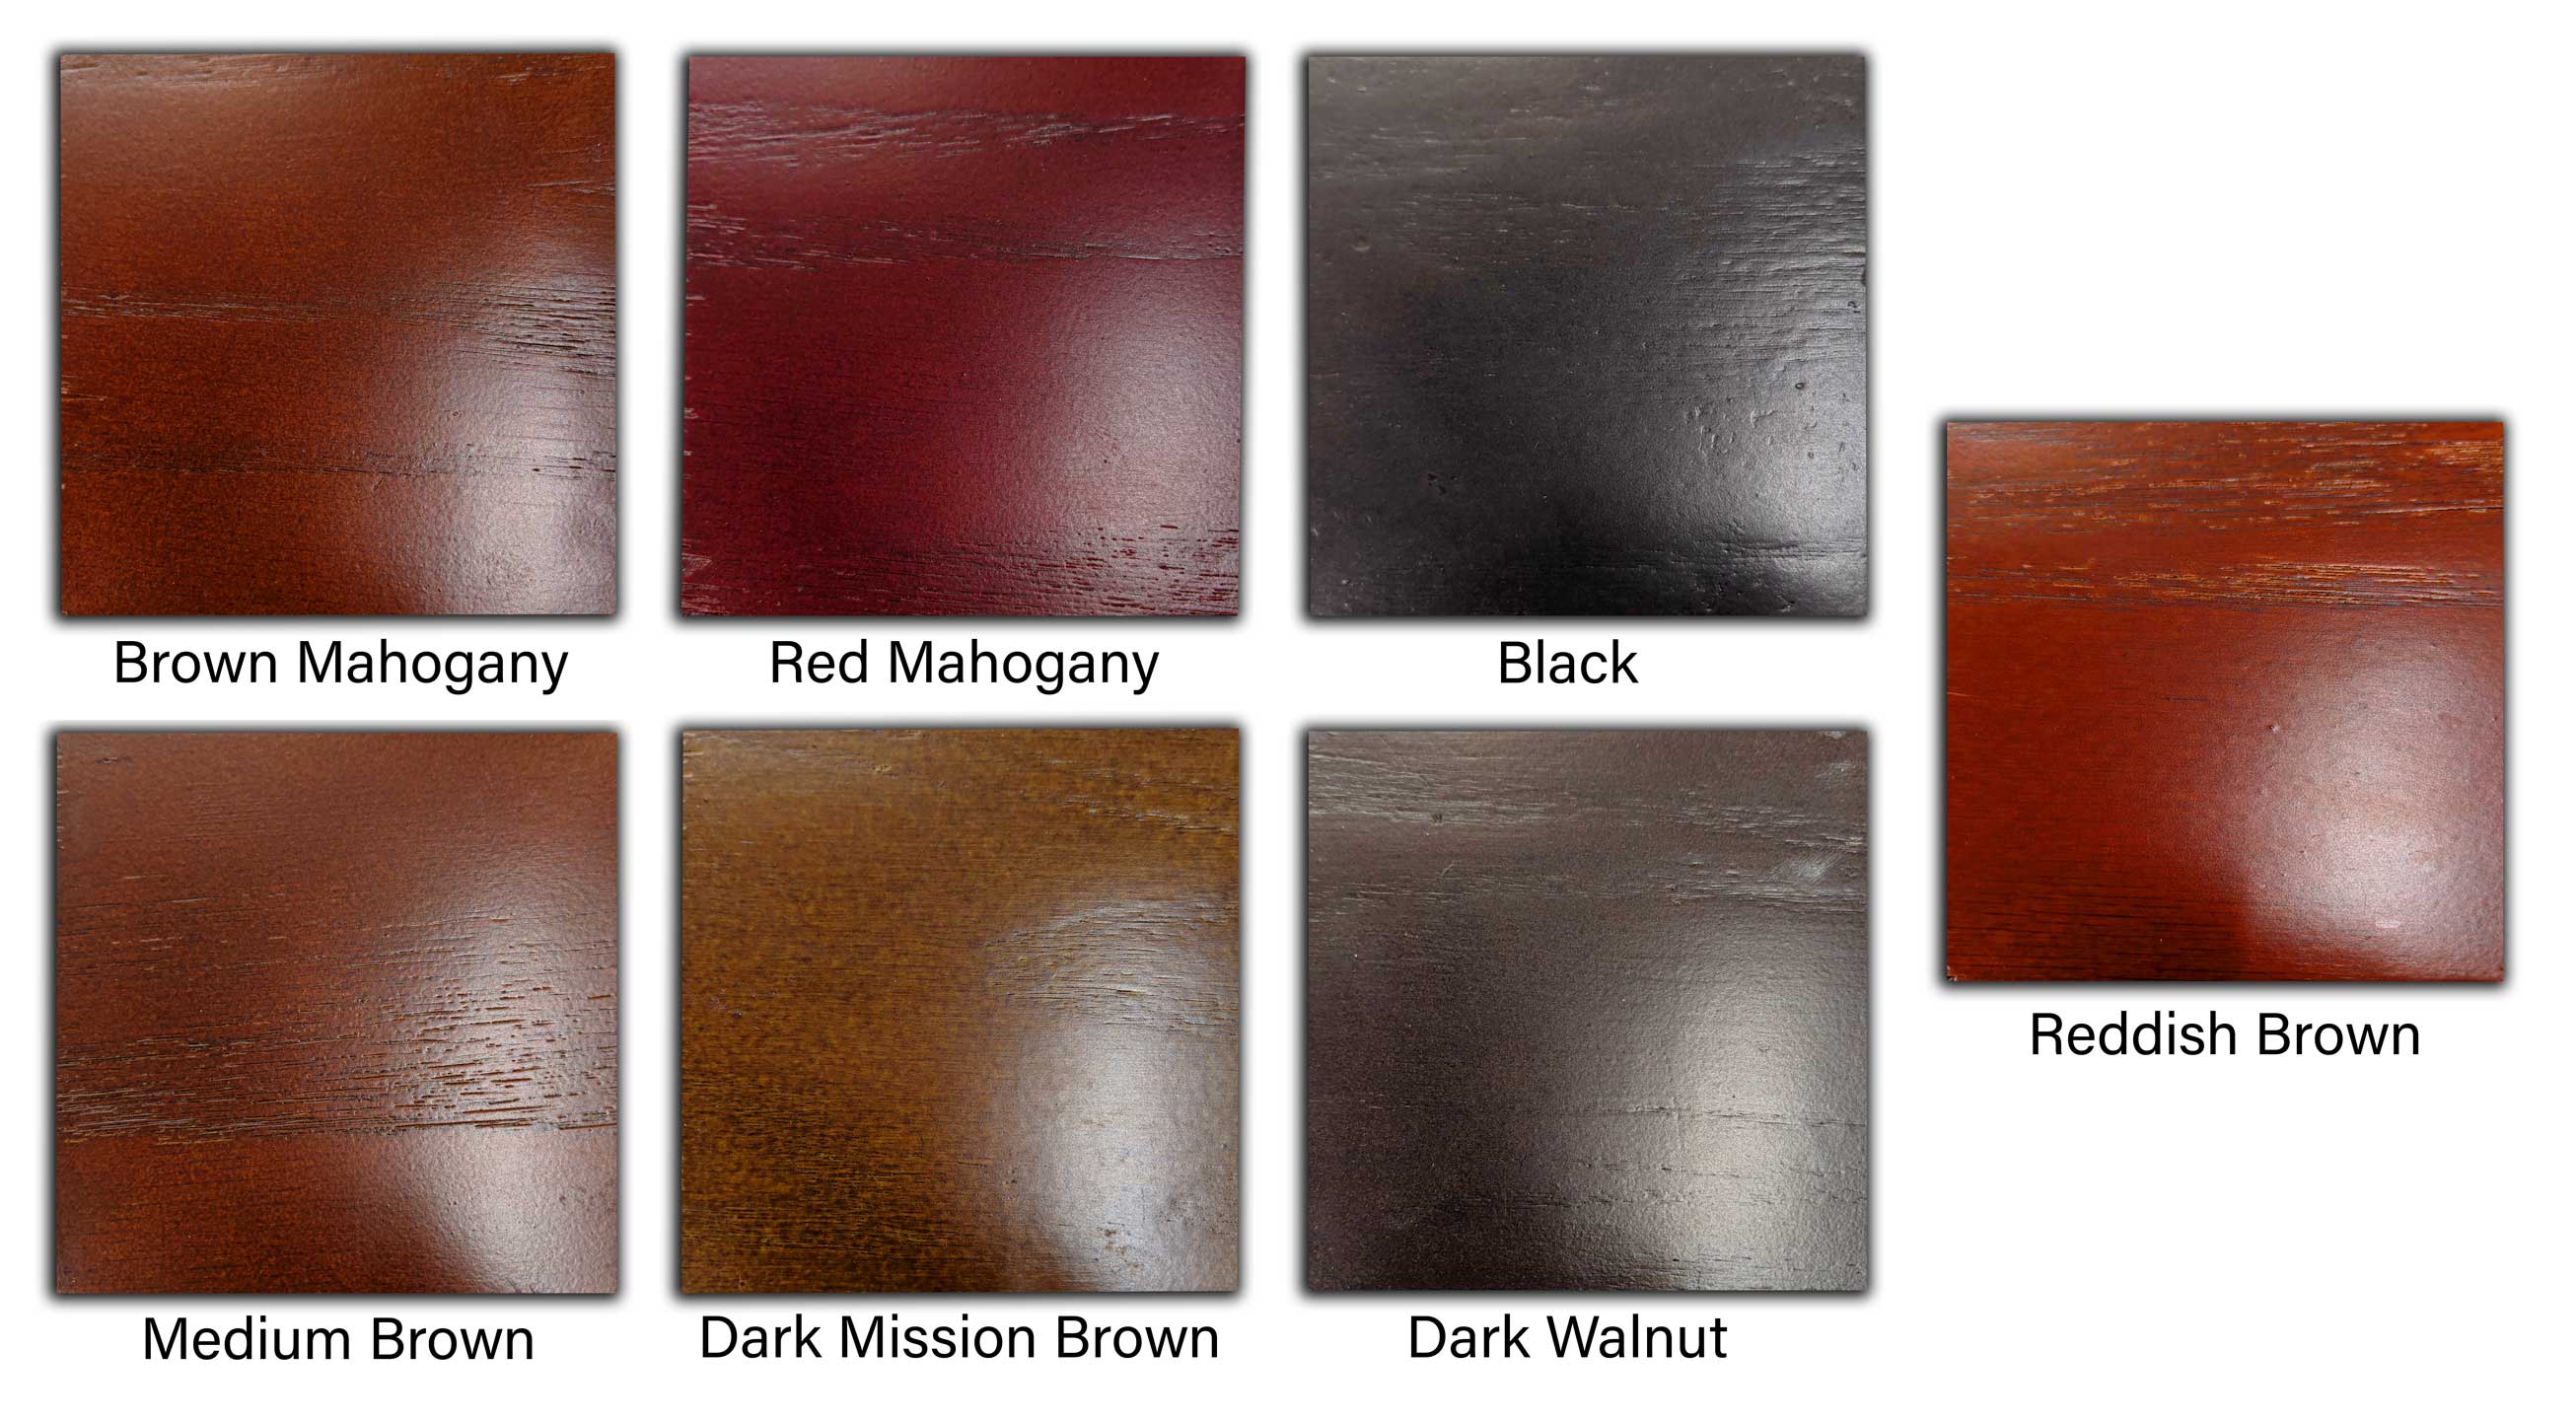
We can restain your cabinets to match these colors as long as your cabinets are currently a lighter color than the color you choose. Custom colors are also available. Mention your idea to us and we'll let you know if we can make your color work!
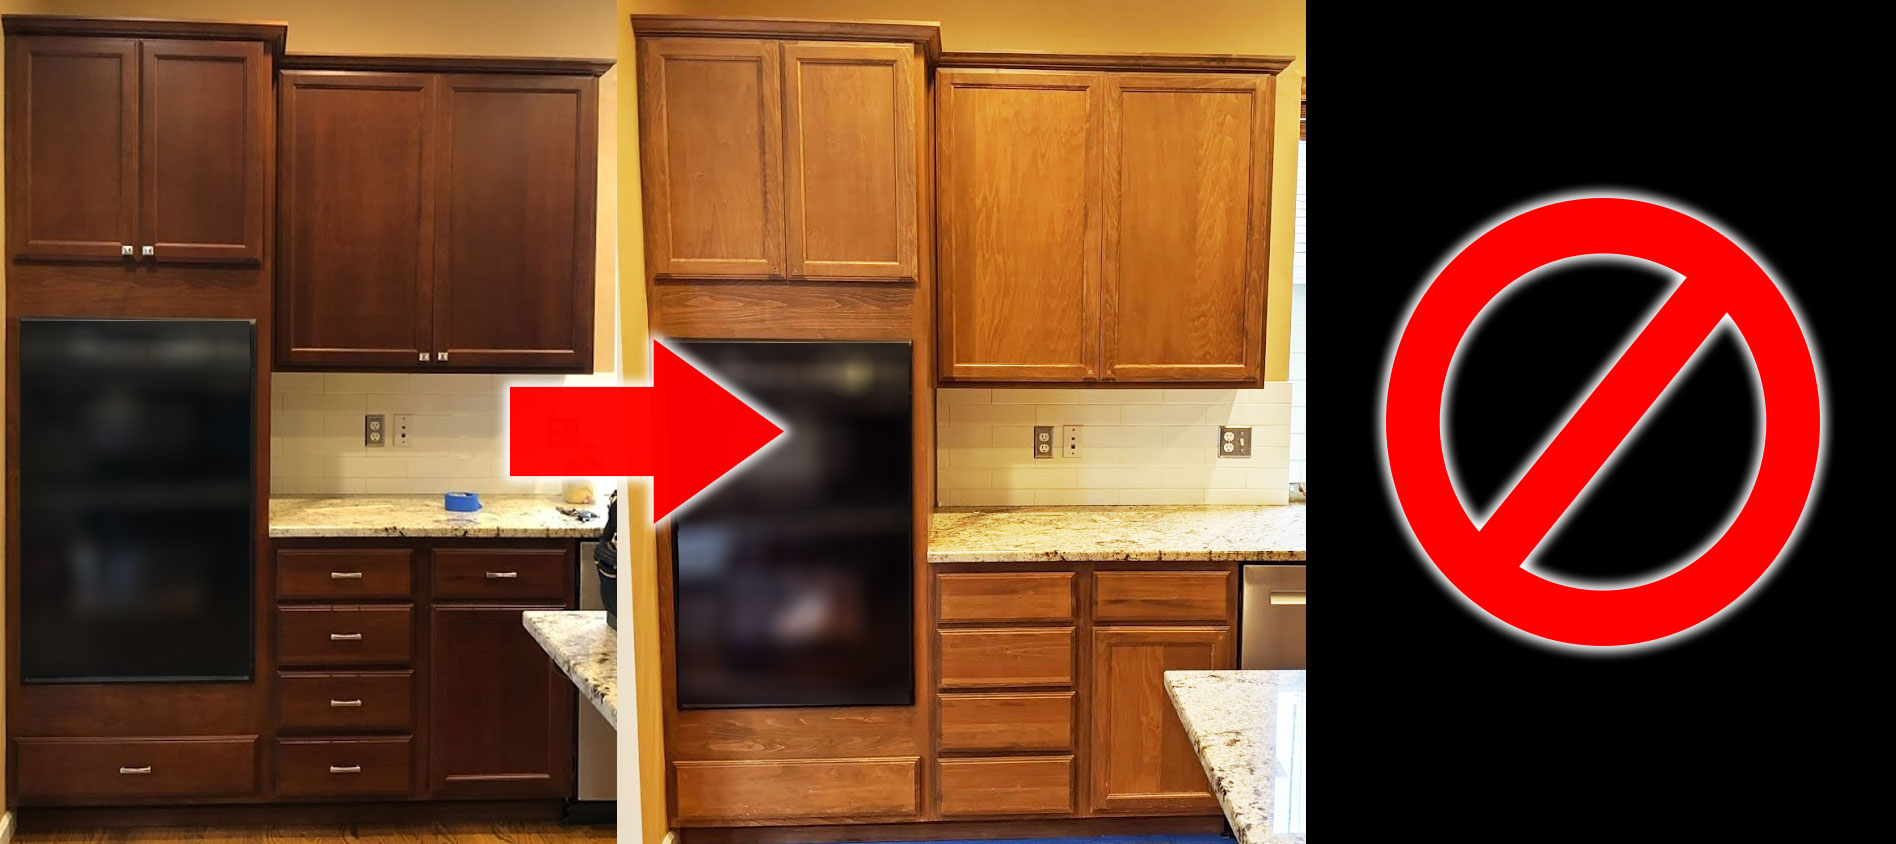
Disclaimer: We can only go darker, not lighter
Our process will not work if you're trying to make your cabinets a lighter stain color.
If your cabinets are too dark and you'd like to lighten them up, we recommend you check out our
painting service
for unlimited color options.
Only 1-2 days without kitchen access
While our average project takes 4-5 days, you'll still have access to your kitchen for most of the project. We wait to mask off the appliances until right before we spray, so you won't have to eat out all week. (You still can if you want to though!)
Professional results

We spray-apply our stain to give you a smooth finish without brush marks or blotching.
Long Lasting Finish
With proper care, our finish can last for decades - not weeks or months
Our Restaining Process
1: Cleaning
All surfaces are thoroughly cleaned to remove any grease or dirt.
2: Remove Doors & Drawer Faces
Doors and drawer faces are removed and taken to our portable spray booth. The cabinet frames will be done in place.
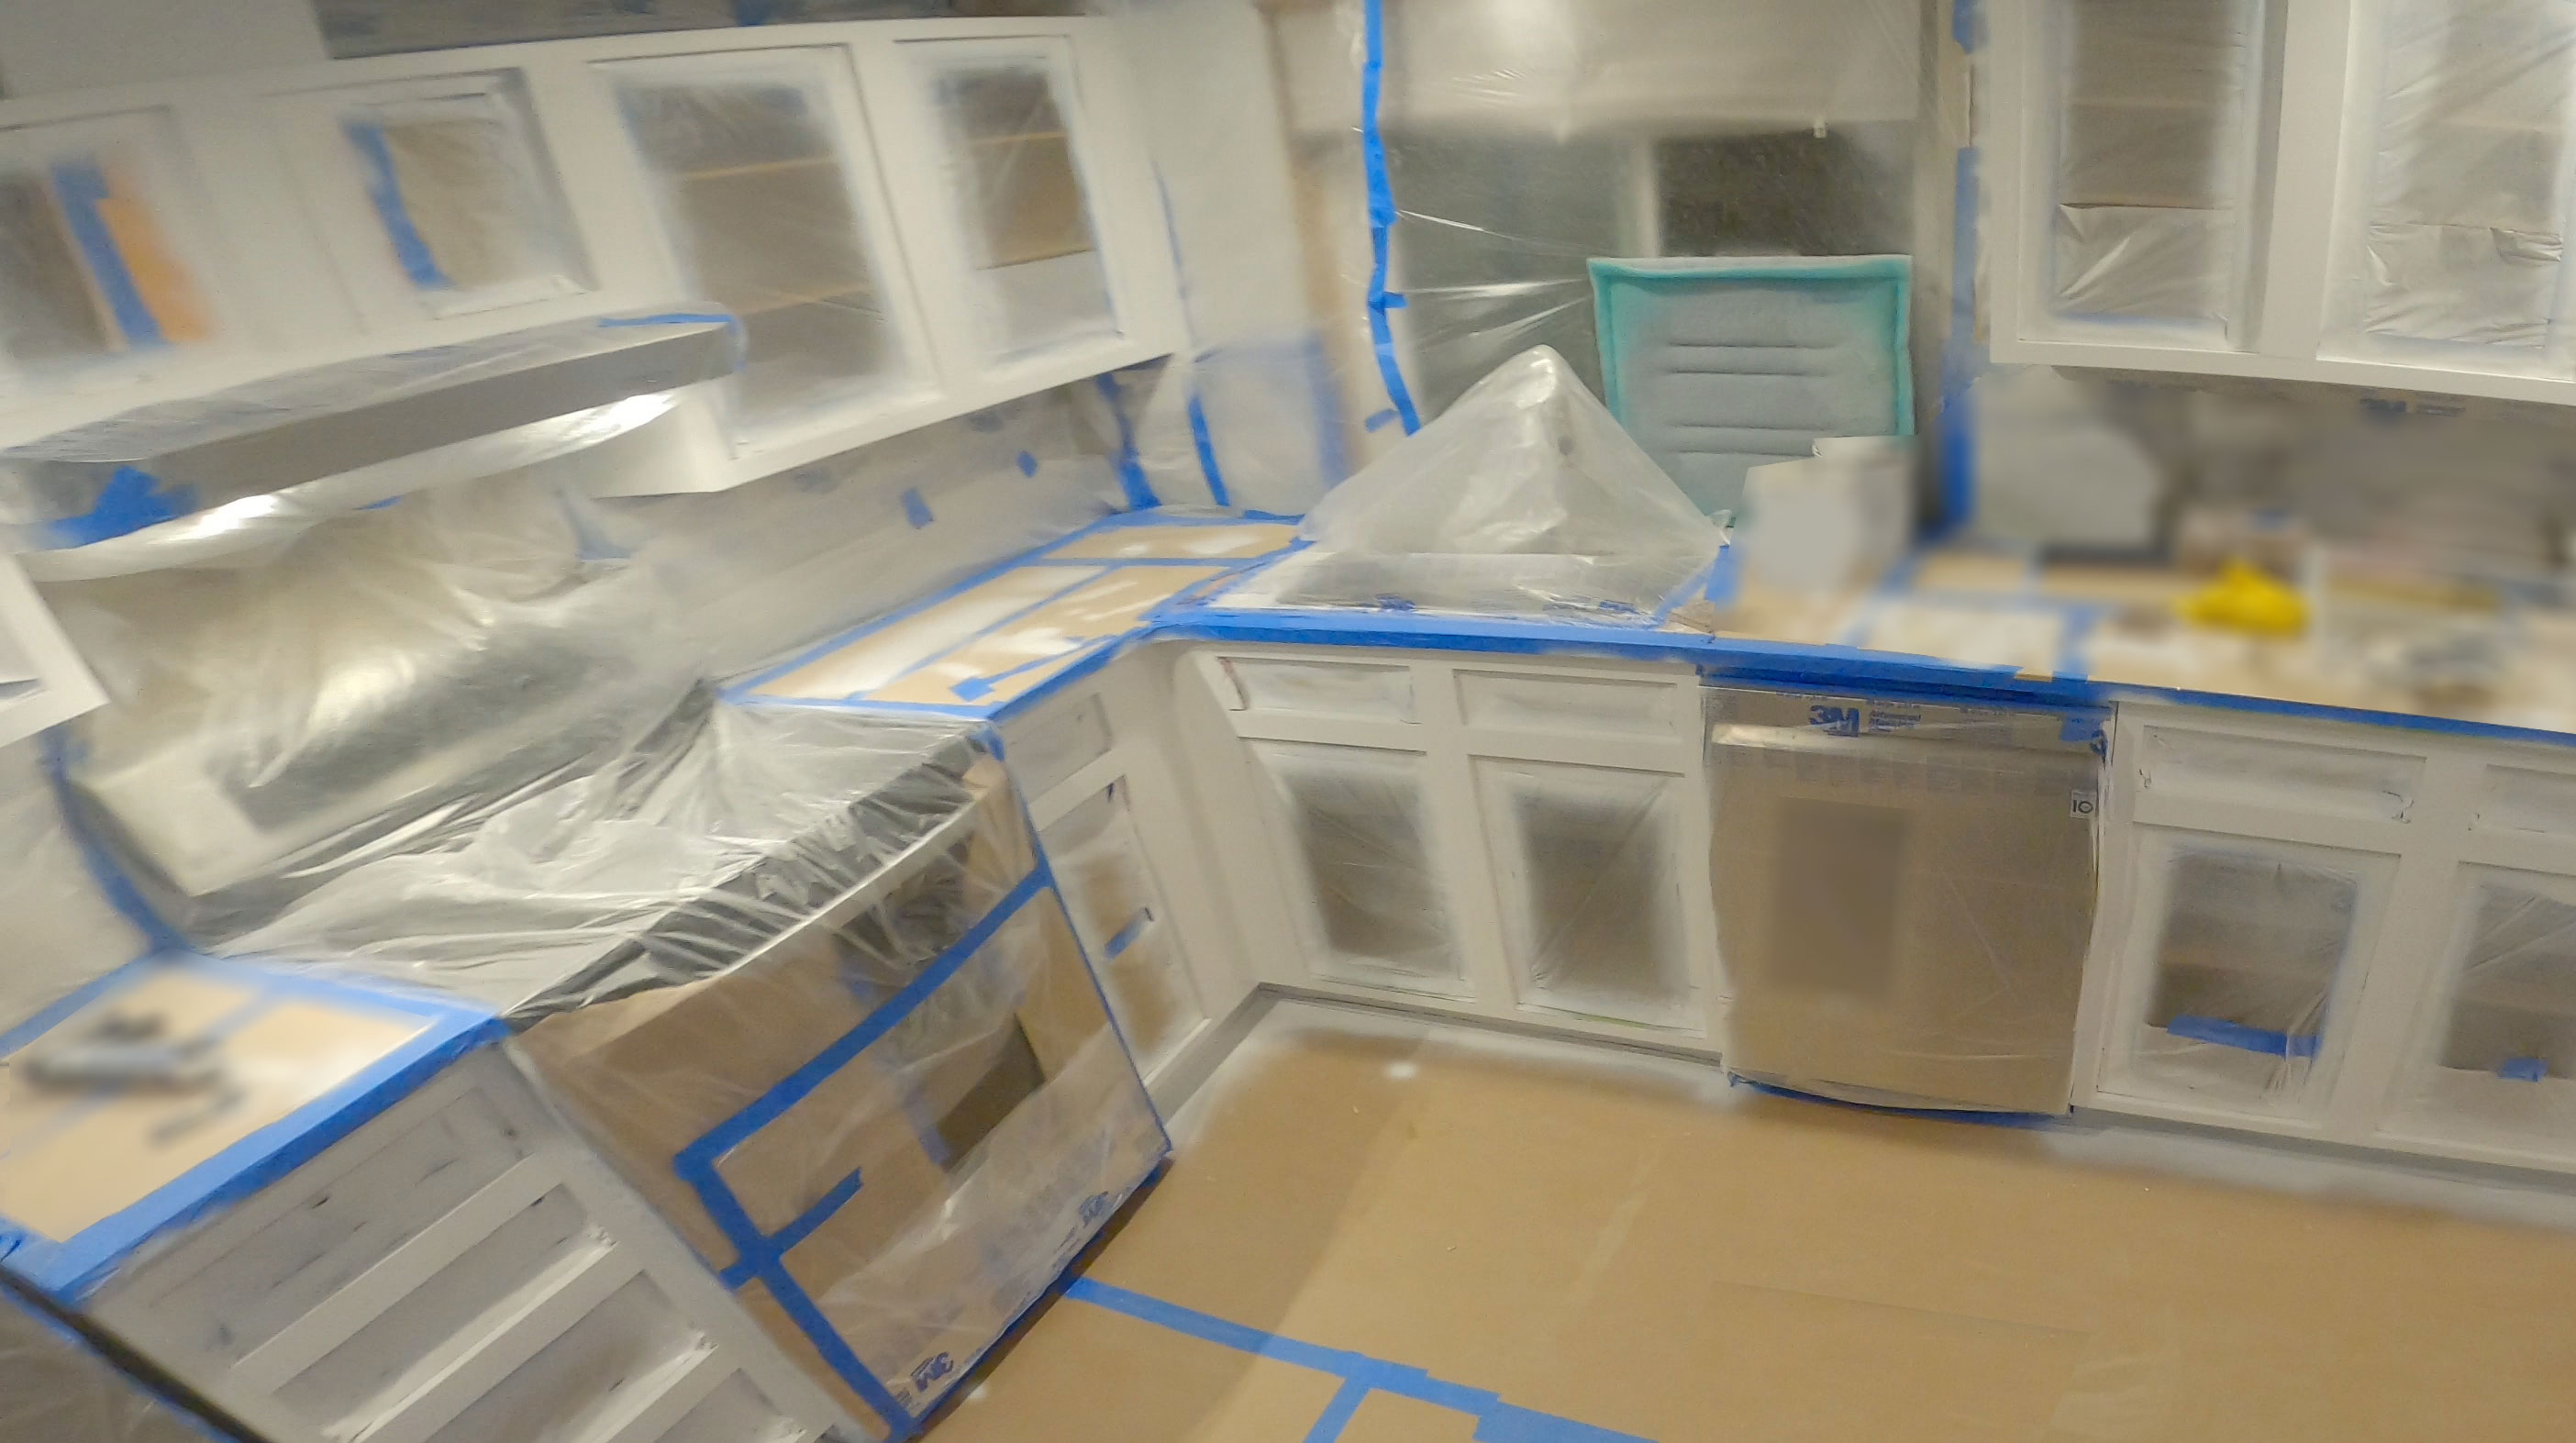
3: Masking
The frames inside the kitchen will need to be done in place, so we mask everything off to protect your walls, floors, countertops and appliances. There is very little overspray with our restaining process, so we don't need to use quite as much masking as our painting process.
4: Surface prep
All surfaces receive a light sanding to rough up the finish and promote better adhesion for our stain and clear coat.
5: Color
Our stain coating is applied over the woodwork until your chosen color is reached.
6: Clear coat
We apply a tough acrylic coating over the top to protect the wood from everyday wear and tear.
7: Installation and finishing touches
Masking is removed and the doors and drawer faces are reinstalled.
8: Final walkthrough
No project is complete without a walk through! The final payment is only due after the project is complete and we have you inspect it.