
Restoration Prep Checklist
Before we start the project:
- Clear off your countertops.
- Remove anything sitting on top of the upper cabinet boxes.
-
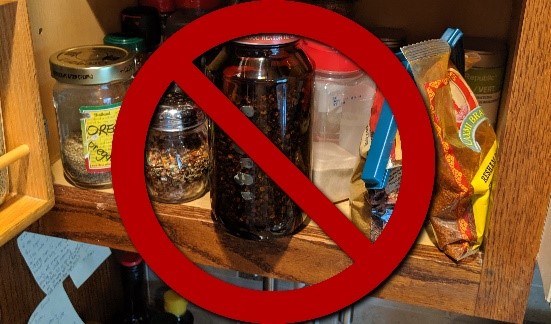
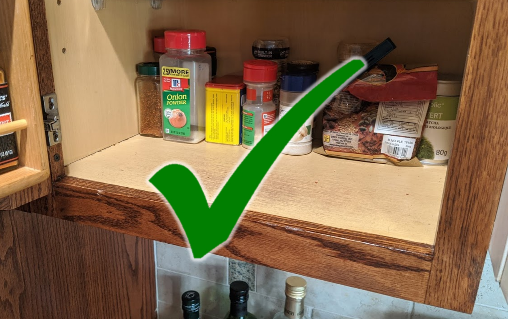
Make sure your cabinets aren't overstuffed:
Leave 2" of space between items inside the cabinet and the outer trim
-
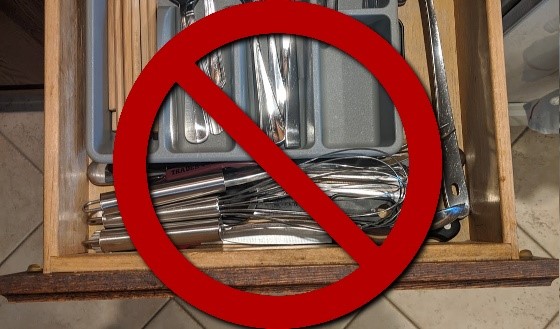
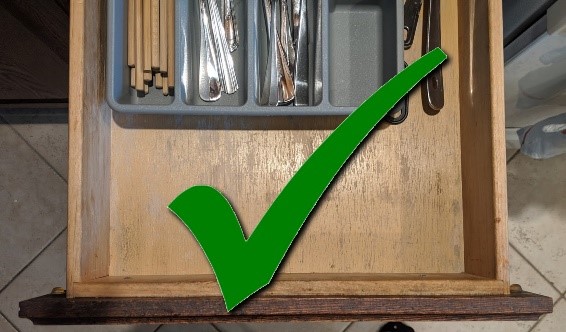
Remove enough items in the drawers to leave 6" of space so we can access the screw holding the handle in place.
- Remove hanging calendars, pictures, fixtures etc. from the cabinets and walls near the cabinets.
- Remove any tape stuck on the cabinets.
-
Clean any dust & grease off these areas:
- Top of the fridge
- Stove & oven
- Range hood (be sure to check the top of the range hood – it can get greasy!)
- Rubber seal on the dishwasher & the inside of the dishwasher door
- Space on top of the upper cabinet boxes (if your cabinets touch the ceiling, then you can skip this step)
-
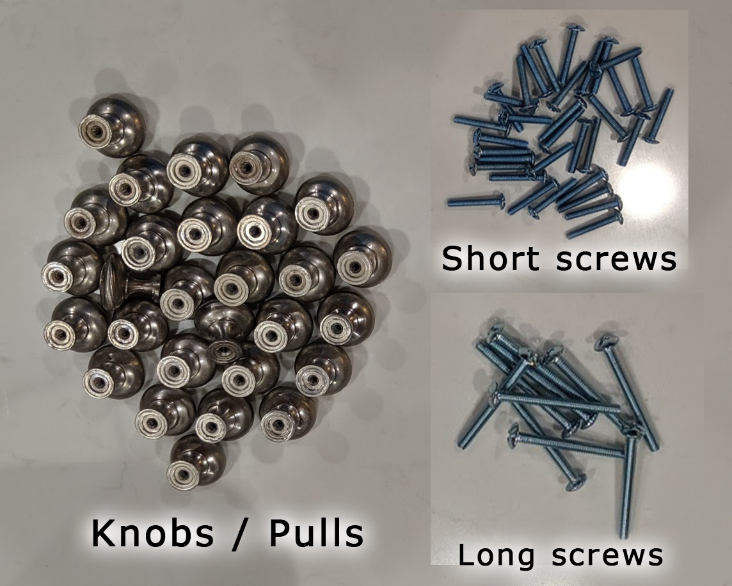
If you have new hardware for us to install, please read the following:
- If your new hardware fits the same screw holes on all of the cabinets, we'll put them on for free at the end of the project.
- If there are holes drilled already and your new hardware doesn't fit the current holes, we won't be able to install the hardware.
- If there are no holes drilled for hardware and you want us to drill them for you, there will be an extra charge added to the invoice of 400 + tax. Please let us know in advance if you're planning to have us do this!
- Remove the new hardware and screws from the packaging. Separate them into piles like in the picture below:
-
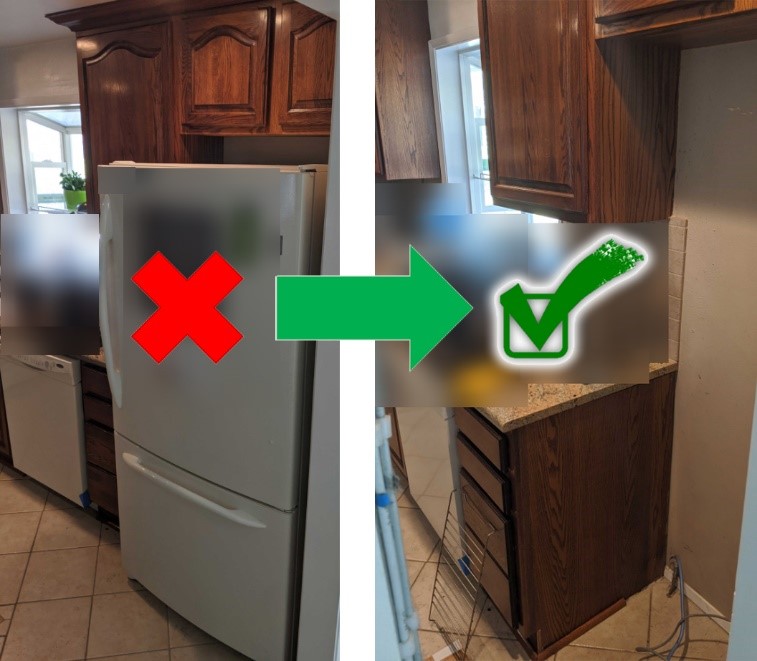
(Optional) Move appliances:
- If an appliance (such as a fridge) is covering up a panel, then we will not refinish that piece of paneling unless the appliance is moved out of the way.
- Move appliances out of the kitchen if you want the side paneling behind them painted / refinished.
- If you’re fine with the side paneling not being painted, then you may leave your appliances in place. Any appliances left in place will be protected with masking film.
- If you decide to move your appliances, follow this link to find professional help in your area: Moving Services
- If you'd like to move the appliances yourself, follow this link: How to move a refrigerator
Note: Any injury, damage, or loss that may result from the information here is the sole responsibility of the user and not Koa Wood Restoration. We recommend that users get the help of a professional.
During the project:
- Please don’t cook while we’re working in the kitchen. Yes, this kind of goes without saying, but unfortunately we still have to explicitly tell people this. We need the space!
- It is OK to cook and use your cabinets after we’re done working for the day, but you need to be extremely gentle when handling the woodwork. The cabinets will have little to no scratch resistance until the finish cures 48 hours after the work is completed.
- Please wait to inspect the project until it is completely finished. There are many steps in our process that don’t get done until the second, third or fourth day.
- Please maintain a respectful distance from our technicians. We frighten easily!
After we finish the project:
Be gentle with your cabinets for 48 hours while the finish cures. It will be dry to the touch immediately after we're done, but the finish needs time to harden so it can get its scratch resistance. If you need to access anything inside the cabinets immediately, you can open the cabinets from one of the corners or edges as long as you do it gently.
Cabinet care guide:
- Our recommended cleaner is either a mixture of 50/50 white vinegar & water or Dawn dish soap and water (just use a small squirt of Dawn). You can fill an empty spray bottle with either of these solutions for easy access. Both cleaners will cut the grease but will still be gentle on your cabinetry.
- Clean your cabinets with a microfiber towel or cloth.
- DON’T use abrasive cleaners, strong soaps or bleach. Even some brands of all-natural soaps can be harmful to the finish.
- DON’T clean with Scotch-Brite Pads or Magic Erasers, as they’re abrasive and can mar the finish coating.
- DON’T use any oil-based soaps or polishes like: Murphy’s Oil Soap, Liquid Gold, Old English, etc. Wood oils will attract dirt and debris making your cabinets wear faster over time.